You spend 20 minutes sketching, smudging, and second-guessing your brow shape—only to end up with uneven arches that scream “DIY disaster.” The frustration is real. But what if you could trace flawless symmetry in under 60 seconds? Enter the eyebrow stencil tool: not a gimmick, but your secret weapon for crisp, camera-ready definition without the learning curve.
Why Freehand Brows Fail (Even for Pros)
Most people assume steady hands and expensive pencils guarantee great brows. They don’t. Natural asymmetry—the slight tilt of your orbital bone, subtle facial swelling, even how you hold your mirror—makes mirroring shapes nearly impossible freehand. And powders? They feather unpredictably on oily skin. Pencils drag on dry patches. Even seasoned makeup artists reach for stencils when time is tight or lighting is poor.
The truth? Precision isn’t about skill alone—it’s about smart constraints.
How to Use an Eyebrow Stencil Tool Like a Pro
Forget shaky tracing. This method leverages pressure control, product selection, and strategic removal—not just the stencil itself.
Select Your Stencil Based on Face Shape, Not Trends
Round faces need angular lift. Heart-shaped faces crave soft fullness at the tail. Don’t default to Kardashian arches unless your bone structure actually supports them. Most kits include 3–5 universal shapes; hold each up *without* product first. The right one should feel like it’s hugging—not forcing—a new form onto your face.
Prep Skin Like You’re Applying Foundation
Oily T-zones cause powder migration. Dry flakes grab too much pigment. Swipe a mattifying primer or translucent powder along the brow bone before placing your stencil. It creates a neutral, grippy canvas—critical for clean lines.
Apply Product With the Right Tool (Hint: Not the Brush That Came With It)
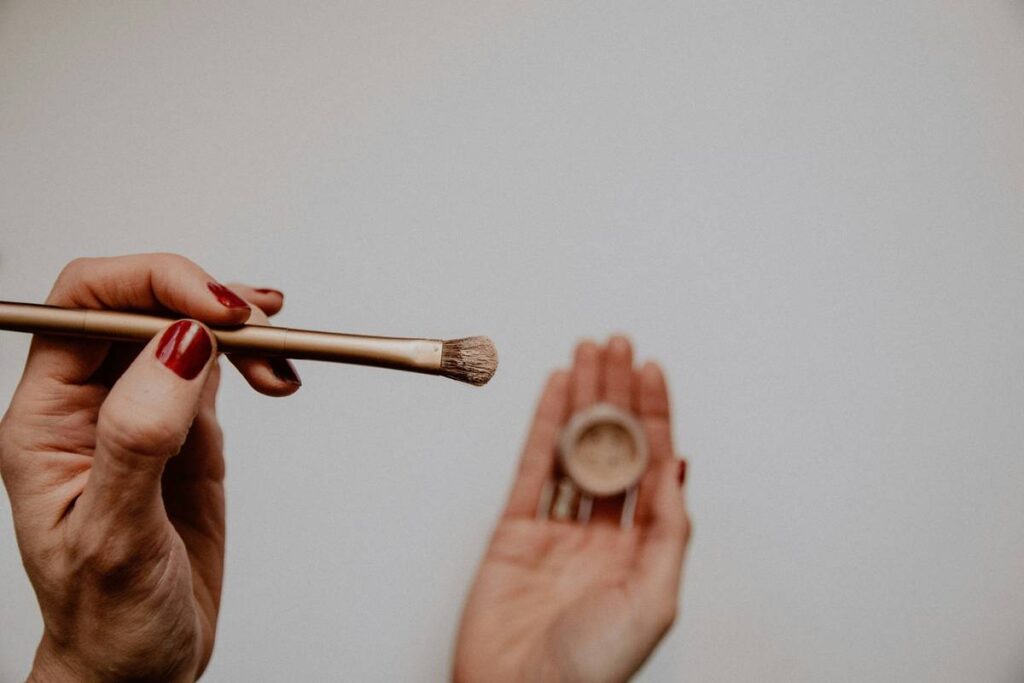
Stiff angled brushes push product *under* the stencil edge, blurring your line. Instead, use a spoolie dipped lightly in powder, or tap a flat shader brush once on setting powder before sweeping over the stencil. Less is more. Buildable layers beat muddy first passes.

Peel, Don’t Slide—Then Refine
Lift the stencil straight up—never drag it sideways. Any smudge now can be sharpened with a clean spoolie or a cotton swab dipped in micellar water. Final touch? Set with clear brow gel *after* filling, not before. Gel creates a slick barrier that repels powder.
| Method | Time Required | Beginner-Friendly? | Longevity (Oily Skin) |
|---|---|---|---|
| Freehand Pencil | 8–12 min | No | 2–3 hours |
| Powder + Angled Brush | 6–10 min | Moderate | 4–5 hours |
| eyebrow stencil tool + Powder | 2–4 min | Yes | 6+ hours |
The Industry Secret: Stencils Aren’t Just for Filling—They’re for Mapping
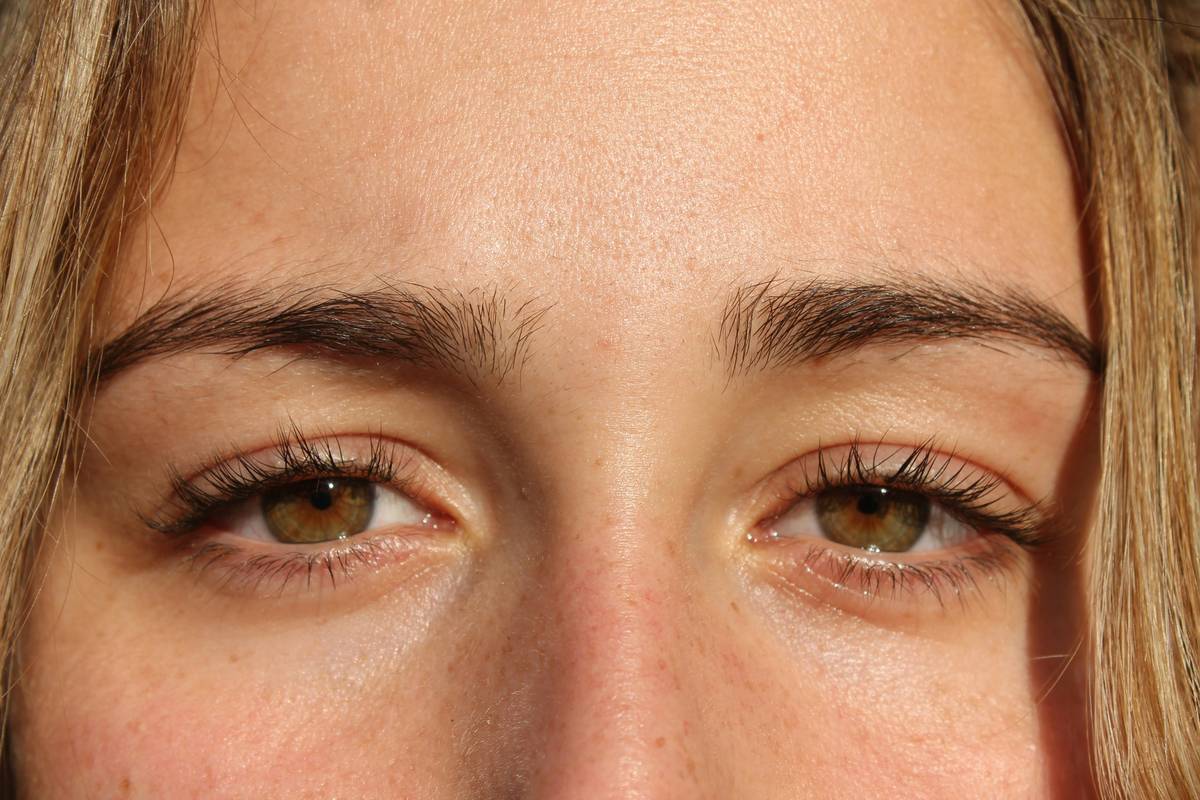
Top brow bar technicians don’t just fill inside the lines—they use stencils as diagnostic overlays. Here’s how: place the stencil, then use a white eyeliner pencil to mark where your *natural* hairs fall outside the ideal shape. That reveals exactly where to tweeze, wax, or encourage growth long-term. The stencil becomes a blueprint, not a crutch. And many clients? They keep one shape consistent for years—even as trends shift—because it’s calibrated to their anatomy, not Instagram.
That’s the real power: consistency over chaos.
FAQ
Can I reuse plastic eyebrow stencil tools?
Yes—wipe with alcohol after each use. Avoid hot water; it warps thin plastic. Metal stencils last longer but cost more.
Do eyebrow stencil tools work on sparse brows?
Absolutely. They guide where to deposit pigment so gaps look intentional, not accidental. Pair with a tinted brow gel for fuller illusion.
How do I stop my stencil from slipping?
Press gently but firmly with clean fingers while applying product. Or use a reusable stencil with silicone grips—some premium kits include these.